Getting started
A plugin for Craft Commerce that integrates with a ShipStation Custom Store.
This page walks you from composer require to your first order shipped from ShipStation. By the end, ShipStation imports your completed orders, and shipping an order in ShipStation records its tracking number in Craft.
1. Install#
Requirements:
- Craft CMS
^5.0 - Craft Commerce
^5.0 - PHP
^8.2
Commerce must be installed and enabled before this plugin.
composer require fostercommerce/shipstationconnect
./craft plugin/install shipstationconnect
DDEV:
ddev composer require fostercommerce/shipstationconnect -w && ddev craft plugin/install shipstationconnectA ShipStation Connect item appears in the control panel nav. Its Dashboard entry is a shortcut out to ShipStation’s own site.
2. Create the shipping info field#
ShipStation sends back a carrier, a service, and a tracking number per shipment, and they are stored in a Matrix field on the order. Create it before configuring the plugin.
Under Settings -> Fields -> New field, add a Matrix field with one entry type holding three Plain Text fields:
| Field | Handle |
|---|---|
| Carrier | carrier |
| Service | service |
| Tracking Number | trackingNumber |
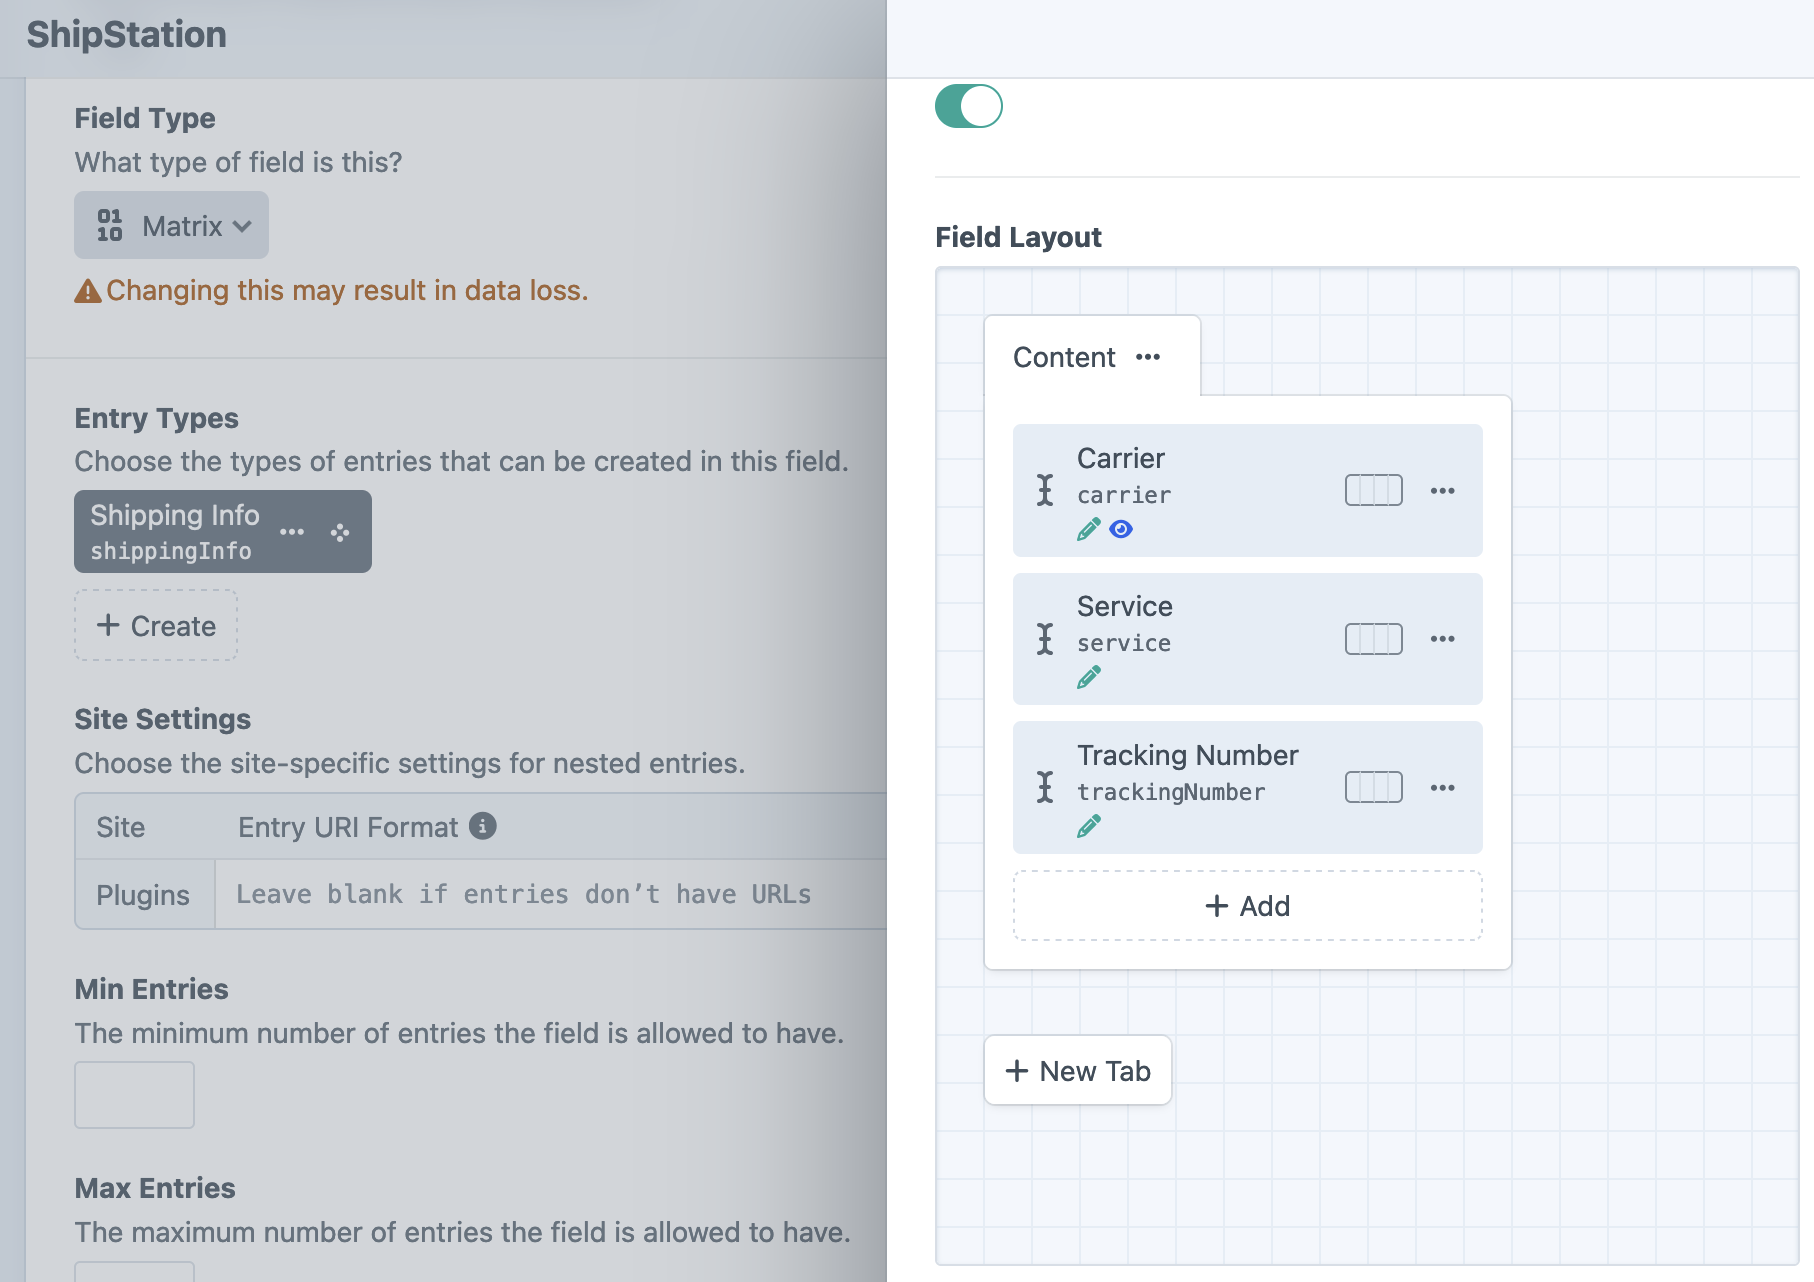
Add it to the order field layout under Commerce -> Settings -> Order Fields. A field that is not on the layout has nowhere to store a value.
3. Configure#
Open ShipStation Connect -> Settings and set:
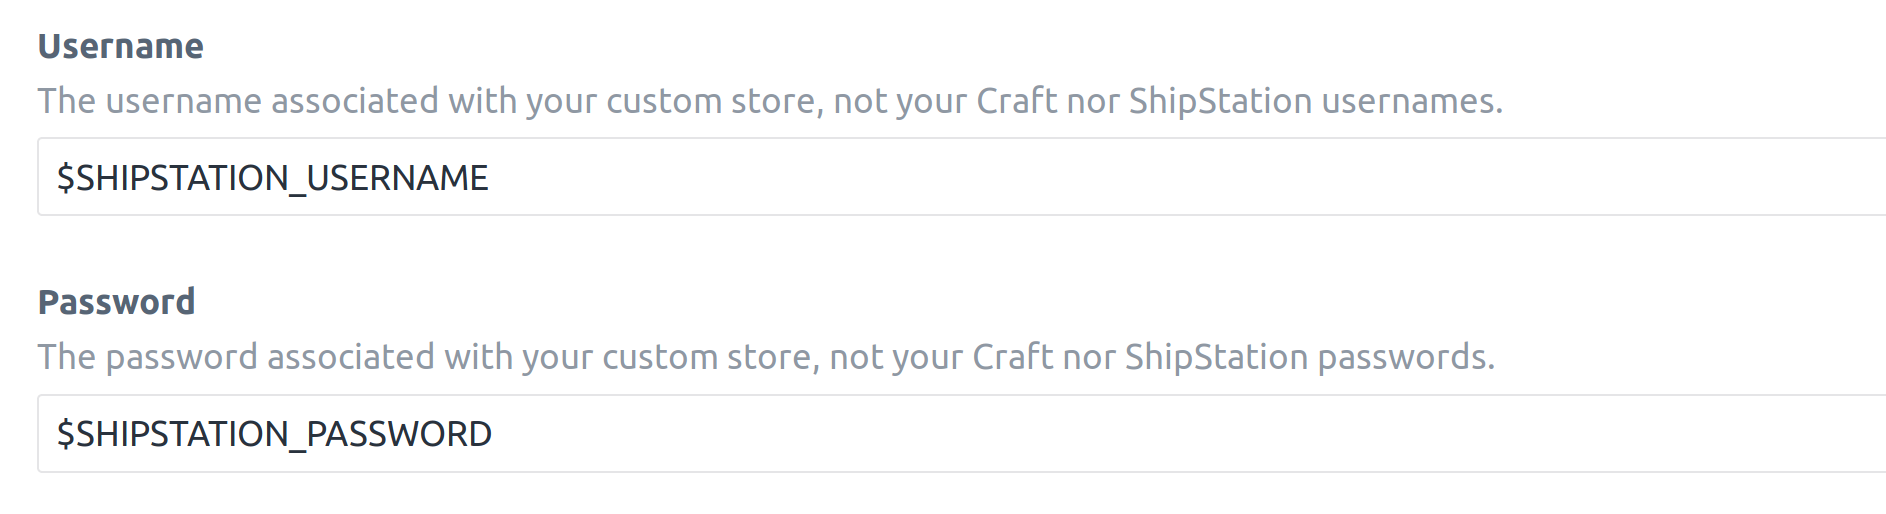
- Username: the username ShipStation authenticates with. Not a Craft user, and not your ShipStation login.
- Password: the matching password.
Both credential fields accept an environment variable, which keeps the values out of project config:
Under Shipping Info Matrix Field, enter the handles of the Matrix field, its entry type, and the three fields inside it.
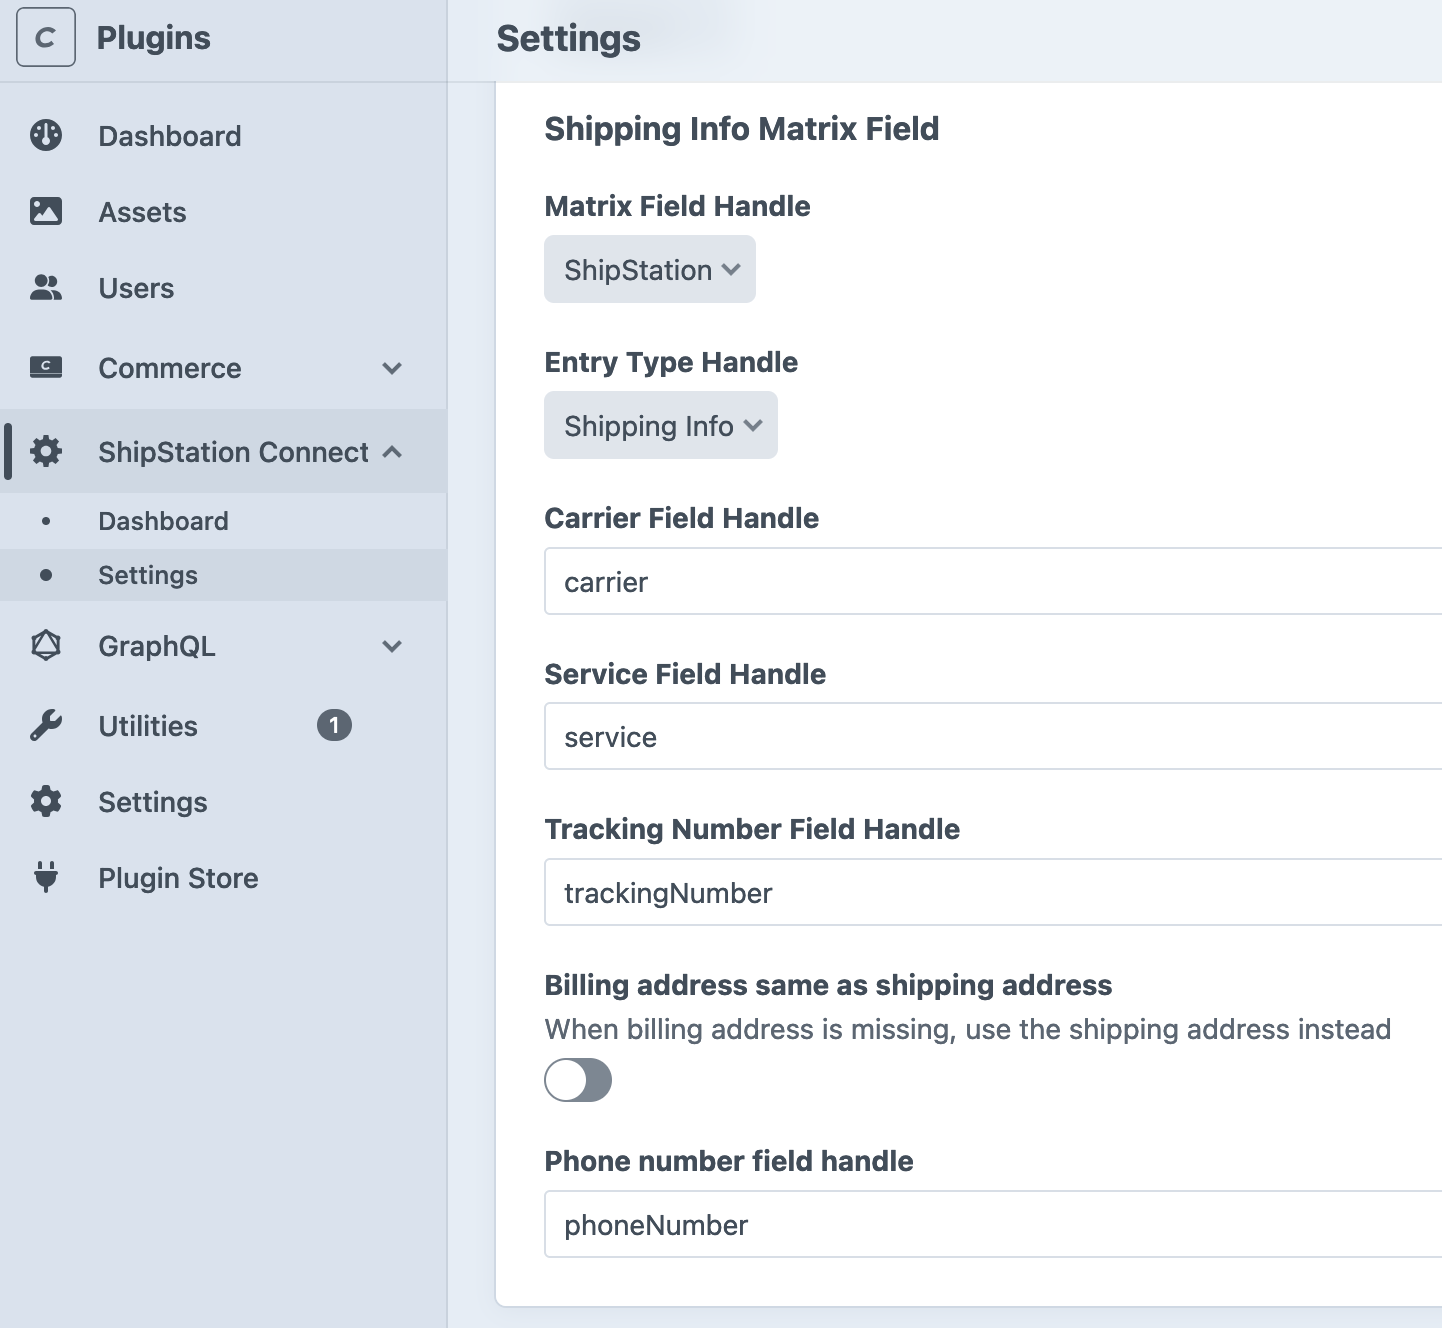
Every other setting, with its default, is listed in configuration.
4. Connect ShipStation#
The settings page shows the URL to give ShipStation:
https://your-site.com/actions/shipstationconnect/orders/processIn ShipStation, add a store of type Custom Store and paste that URL with the username and password. ShipStation’s own custom store guide covers the screens on their side.
ShipStation also asks which of your statuses mean awaiting shipment and which mean shipped. Commerce’s defaults are processing and shipped; check yours under Commerce -> Settings -> Order Statuses. A ShipStation status takes more than one source status, comma separated, and the values are case sensitive, so they have to match your Commerce handles exactly.
5. Check it works#
To see the same response ShipStation gets:
curl -u "$SHIPSTATION_USERNAME:$SHIPSTATION_PASSWORD" \
  "https://your-site.com/actions/shipstationconnect/orders/process?action=export"
An <Orders> document comes back with an <Order> per completed order. pages="0" means none matched. See order export for which orders qualify.
Then ship one of those orders in ShipStation. The order in Craft moves to your shipped status, its Shipping Info field holds the carrier, service, and tracking number, and its activity log reads “Marking order as shipped. Adding shipping information.”
If either direction fails, see troubleshooting.
Where to go next#
- Order export, which orders go out and what each one carries
- Shipping notifications, what happens in Craft when an order ships
- Configuration, every setting and its default
- Customizing exported orders, rewrite any field before it is sent